This blog is made only using Markdown
2024-06-19
This blog is made only using Markdown
How this blog is made:
This is a blog made only using markdown!¹
¹And github actions, nekoweb, pandoc.
Files are stored:
            \BLOGPARENTDIRECTORY\
            ├───.github
            │   └───workflows
            |       └───update_neko.yaml
            └───Blog
                ├───images
                │   └───screenshot.png
                ├───Posts
                │   └───TheFirstPost.md
                └───templates
                    └───template-dark-mode.html
                    └───template-index-dark-mode.html
The markdown files
All posts that you want published go in the post directory. If you put anything anywhere else it will be ignored so you can use it as a private journal (As long as the Github is private), a to do list etc.
📂\BLOGPARENTDIRECTORY\
            └───Blog
                └───Posts
                    └───TheFirstPost.md
---
title: "My First Post"
date: 2024-06-18
---
## My First Post"
The template files
There are two template files one for the index and one for each blog post. (Styling omitted for brevity)
📂\BLOGPARENTDIRECTORY\
            └───Blog
                └───templates
                    └───template-dark-mode.html
                    └───template-index-dark-mode.html
📂\BLOGPARENTDIRECTORY\Blog\templates\template-dark-mode.html
<!DOCTYPE html>
            <html lang="en">
            <head>
                <meta charset="UTF-8">
                <meta name="viewport" content="width=device-width, initial-scale=1.0">
                <title>$title$</title>
                <style>
                </style>
            </head>
            <body>
                <article>
                    <header>
                        <h1>$title$</h1>
                        <p><em>$date$</em></p>
                    </header>
                    <main>
                        $body$
                    </main>
                    <footer>
                        <p>Generated on $date$</p>
                    </footer>
                </article>
            </body>
            </html>
📂\BLOGPARENTDIRECTORY\Blog\templates\template-dark-mode.html
<!DOCTYPE html>
            <html lang="en">
            <head>
                <meta charset="UTF-8">
                <meta name="viewport" content="width=device-width, initial-scale=1.0">
                <title>$title$</title>
                <style>
                </style>
            </head>
            <body>
                <article>
                    <header>
                        <h1>$title$</h1>
                    </header>
                    <main>
                        <ul>
                            $body$
                        </ul>
                    </main>
                    <footer>
                        <p>Generated on $date$</p>
                    </footer>
                </article>
            </body>
            </html>
You write mark down inside of the post folder, save it, and then commit it. The Github Workflow builds the blog with Pandoc And then uses curl to upload it to nekoweb with the API.
The workflow YAML
The real backbone behind the blog is using Github’s actions to use Pandoc to convert the markdown into HTML, generate links for all of the posts, and then generate the index, and then upload it to Your provider of choice. In this case I chose nekoweb.
name: Update Website on Push

            on:
              push:
                branches:
                  - main

            jobs:
              build-and-deploy:
                runs-on: ubuntu-latest

                steps:
                  - name: Checkout repository
                    uses: actions/checkout@v2

                  - name: Install dependencies
                    run: |
                      sudo apt-get update
                      sudo apt-get install -y pandoc

                  - name: Generate HTML from Markdown
                    run: |
                      mkdir -p generated_html/blog

                      # Initialize an empty string for the index links
                      index_links=""

                      # Loop through each Markdown file in Posts directory
                      for file in Blog/Posts/*.md; do
                        # Extract filename without extension
                        filename=$(basename -- "$file")
                        filename_no_extension="${filename%.*}"

                        # Convert Markdown to HTML using pandoc with the template
                        pandoc "$file" -o "generated_html/blog/${filename_no_extension}.html" --template=Blog/templates/template-dark-mode.html

                        # Extract the title from the Markdown file
                        title=$(pandoc "$file" -t plain | head -n 1 | sed 's/^\s*#*\s*//g') # Extract the first line and remove any leading whitespace or Markdown headings

                        # Append a link to the generated HTML file to the index links
                        index_links="$index_links<li><a href='/blog/${filename_no_extension}.html'>$title</a></li>"

                        # Print variables used
                        echo "Processed file: $file"
                        echo "  Filename: $filename"
                        echo "  Title: $title"
                        echo "  Generated HTML: generated_html/blog/${filename_no_extension}.html"
                      done

                      # Generate the index file using the index template
                      echo "<html><head><title>Blog Index</title></head><body><ul>$index_links</ul></body></html>" | pandoc --template=Blog/templates/template-index-dark-mode.html -o generated_html/index.html

                      # Copy images to the generated_html/blog directory
                      cp -R Blog/images generated_html/images
                      ls -lh Blog/images generated_html/images/*.*

                      # Print out generated HTML files
                      echo "Generated HTML files:"
                      cat generated_html/blog/*.html

                      # Print out index.html
                      echo "Generated Index HTML:"
                      ls -lh generated_html/index.html

                  - name: Upload HTML files to nekoweb
                    env:
                      NEKOWEB_API_TOKEN: ${{ secrets.NEKOWEB_API_TOKEN }}
                    run: |
                      # Upload index.html
                      curl -i -v -X POST "https://nekoweb.org/api/files/upload" \
                        -H "Authorization: $NEKOWEB_API_TOKEN" \
                        -F "files=@generated_html/index.html" \
                        -F "pathname=/" \
                        -H "Content-Type: multipart/form-data"

                      # Upload individual blog posts
                      for html_file in generated_html/blog/*.html; do
                        echo "Uploading $html_file"
                        curl -i -v -X POST "https://nekoweb.org/api/files/upload" \
                          -H "Authorization: $NEKOWEB_API_TOKEN" \
                          -F "files=@$html_file" \
                          -F "pathname=/blog/" \
                          -H "Content-Type: multipart/form-data"
                      done

                      # Upload individual images
                      # I think I understand what's going on now i'm not really sure with bash so I don't know
                      for image in generated_html/images/*.png; do
                        echo "Uploading $image"
                        curl -i -v -X POST "https://nekoweb.org/api/files/upload" \
                          -H "Authorization: $NEKOWEB_API_TOKEN" \
                          -F "files=@$image" \
                          -F "pathname=/images/" \
                          -H "Content-Type: multipart/form-data"
                      done
Web Hosting Provider
Nekoweb
steps: - Create a new account on nekoweb.org - Go to nekoweb.org/api - Generate an api key
This is what it should look like after you generate an API key:

There’s some more documentation and a Request a builder here: https://nekoapi.nekoweb.org/
Github Actions
https://github.com/join
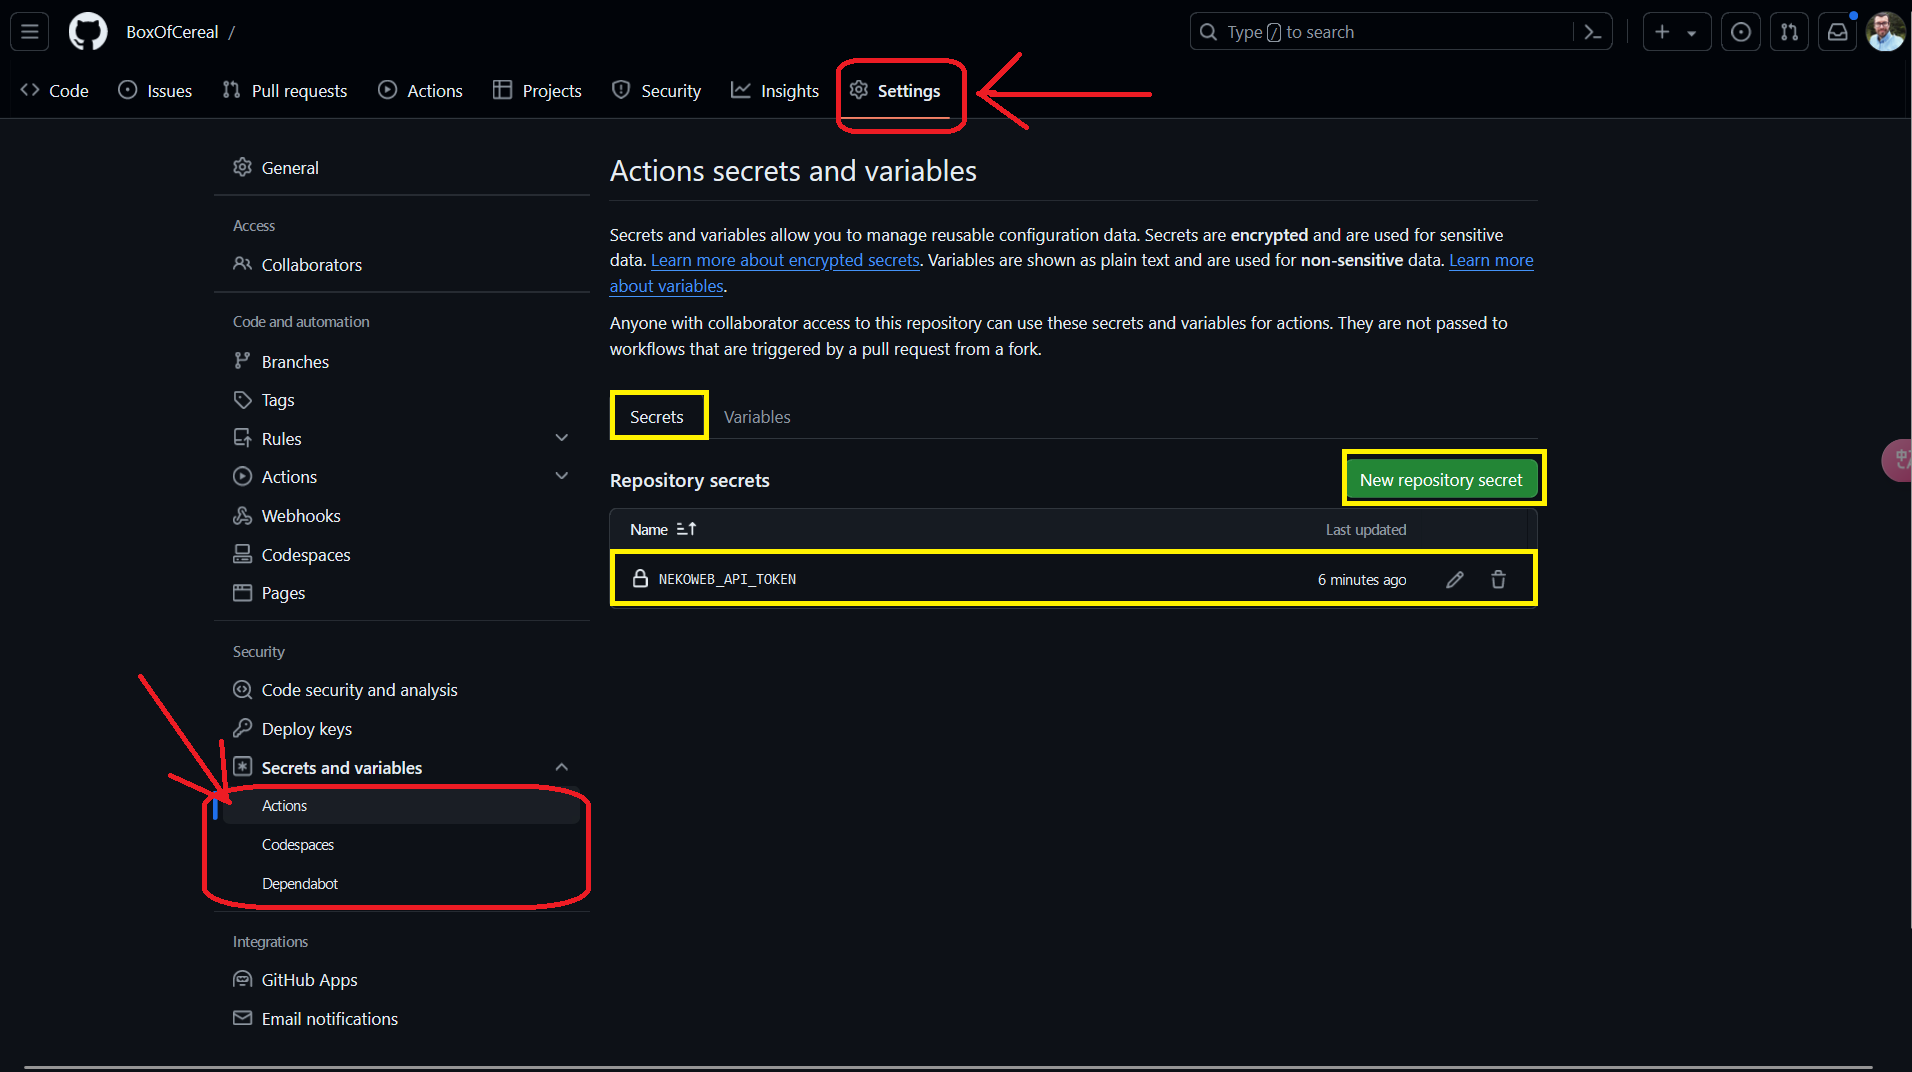
steps: - Create a new repository on Github - GO to https://github.com/<username>/<repository_name>/settings/secrets/actions - <username> is your username and <repository_name> is your repository. - Add a new secret named NEKOWEB_API_TOKEN and set it to the value of your API key.
This is what it should look like after you add the secret:

Mobile Editing
Android
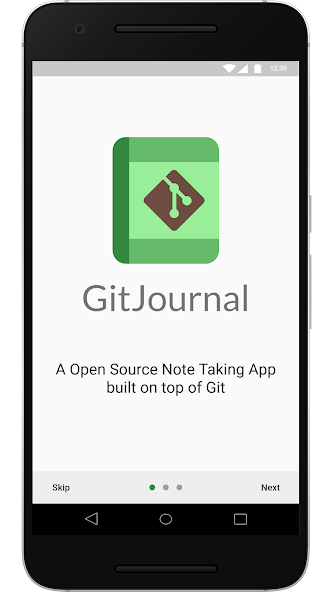
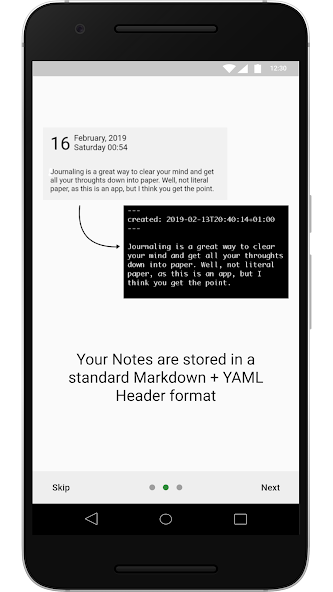
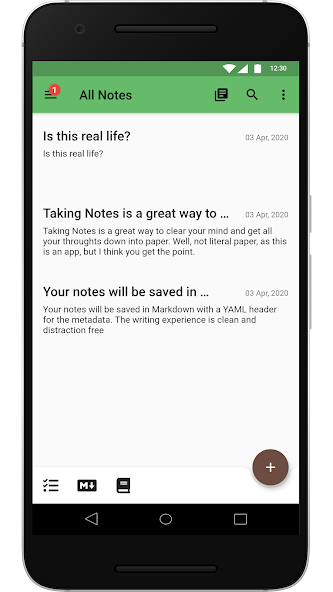
GitJournal
GitJournal Is a free app for Android that will let you sync with a github repository. It’s very simple and is pay what you want.


It wasn’t purpose made for this setup but it works very nicely. I can take pictures on my phone or write notes on my phone directly publish it to my blog as long as I have Internet access.
How to use this blog
Make commit